
Xiaomi Redmi Note 10 series has already been the record smasher for the brand this year. With this new smartphone series, Redmi has addressed or has tried to address all the necessary stuff that their buyers have been demanding for a while now.
For the purpose of this post, we will try and install Google Camera 8 build on the Xiaomi Redmi Note 10 Pro smartphone. Google Pixel smartphone series is quite popular for its camera performance. It is computational photography which is the core product here that lets Pixel phones with not-so-big camera sensors take breathtaking shots. Google has been at the forefront of Artificial Intelligence and Machine Learning that have poured their knowledge into this area.
Though other smartphones brands have been not been able to fully replicate the magic that the Google Pixel series has but they have been lately quite close. But this hasn’t been the case with Android community devs. We now have access to a bunch of developers’ builds of what the community calls GCam or Google Camera Mod, which basically replicates some magic of the Pixel smartphones.
Some of the Pixel-only camera features that are now available on a variety of Android smartphones including Xiaomi phones are Astrophotography, HDR+, Pixel’s iconic portrait mode, dual cam, AR sticker, and filters. Before we get into the guide make sure you have all the pre-requisites checked off.
READ | How to install TWRP Recovery and Root Xiaomi Redmi Note 10 Pro
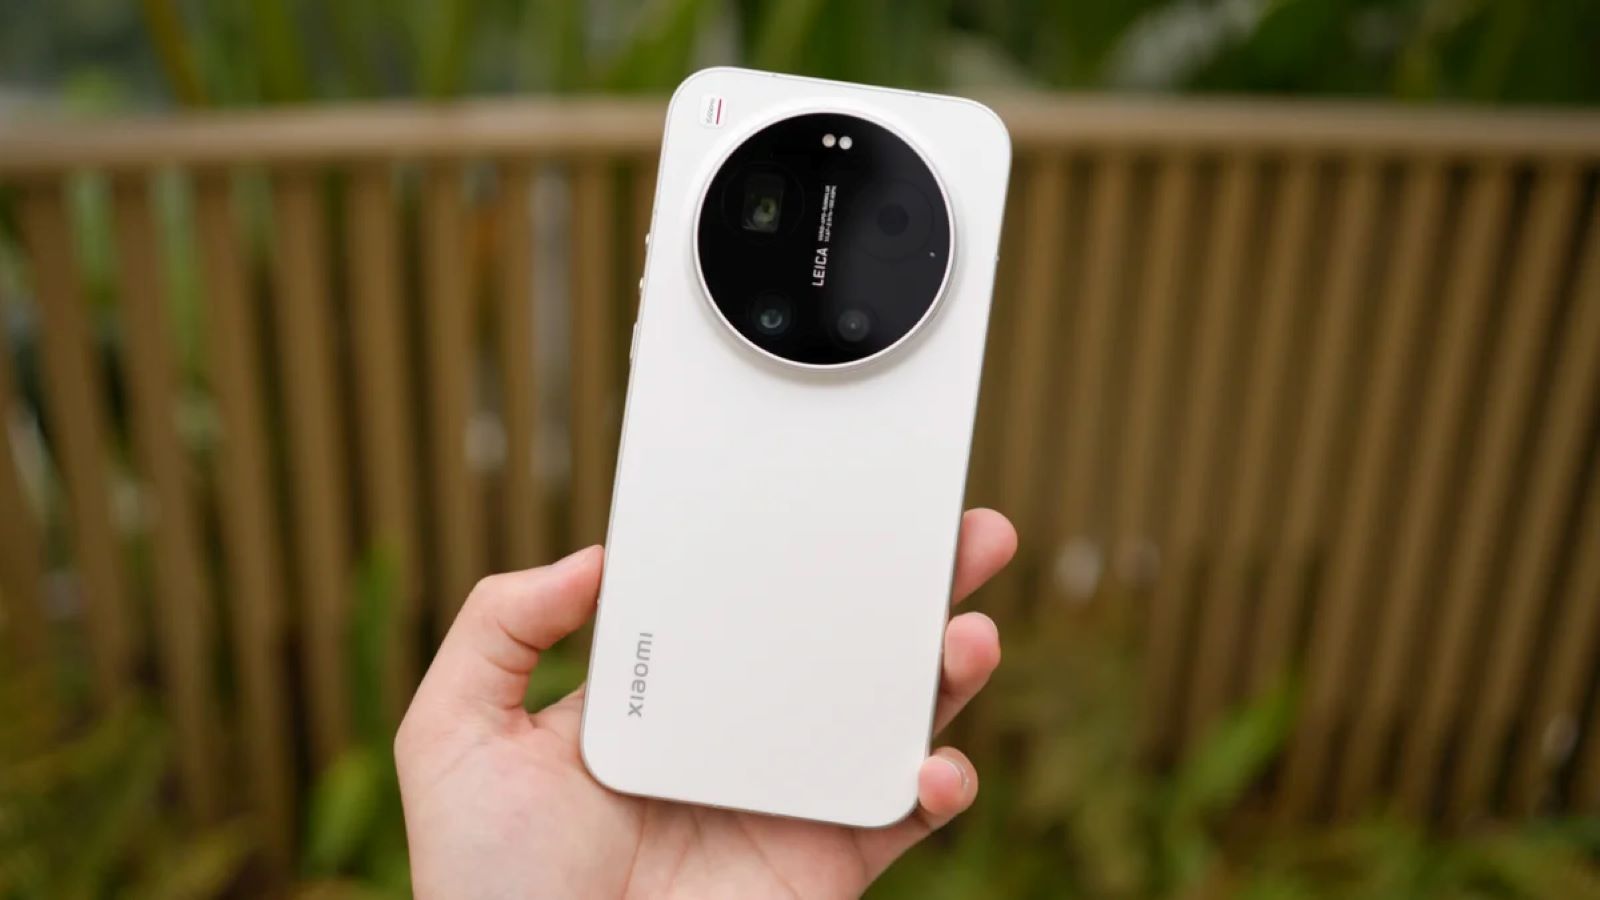
As mentioned above, we will be trying to install the latest Google camera 8 build on a Redmi Note 10 Pro. But before we get into that, let’s discuss a little about the optics on this smartphone. The Note 10 Pro gets a triple camera setup on the back with a main 64-megapixel Samsung-made sensor which is accompanied by an 8-megapixel wide-angle lens and a 5-megapixel macro sensor.
How to Install Google Camera 8 on Xiaomi Redmi Note 10 Pro
Pre-Requisites:
- Make sure the phone’s battery is charged above 65%.
- Camera2 Probe APK
- Camera2 API enabled
- Unlocked Bootloader on the Xiaomi smartphone
- Latest GCam mod APK
How To Install GCam port on Xiaomi Redmi Note 10 Pro
The installation process is no different from installing a separate camera app. You can follow the steps mentioned below:
- Download the latest GCam port APK from here.
- For the sake of this guide, we will be installing the MGC Google Camera port.
- Once the APK file is downloaded, locate it in the file manager and install it.
- Tap on Allow if you see the pop-up “Allow installation from unknown sources.”
- Now, locate the Google Camera icon in the app drawer and tap on it.
READ | How to install Pixel Experience custom ROM on Redmi Note 10 Pro
Now you’re halfway done. Getting the Google Camera port is one part, now we need to load a custom XML file onto the app, that houses all the settings perfect for a Xiaomi smartphone. These XML files are called Google Camera configs.
How To Configure GCam settings on Xiaomi Redmi Note 10 Pro
It is always recommended to use the supported Config file, which sets the Google Camera app settings according to the device and helps in getting rid of bugs or glitches in the Google camera app.
- Go to the Config file section of the MGC GCam port page.
- Locate your device and download the required XML file.
- Go to internal storage through a file manager and create a folder GCam → Configs.
- Move the downloaded Config file to the “Configs” folder.
- Open the GCam app and double tap on the import area.
- Select the downloaded config file.
- Click on Restore.
While these Config files are essential, you could run the app without loading one in case you don’t get the desired Config file for your phone. Just disable certain settings that don’t work on your phone and the app should perform well without any major hiccups.


Add Comment