In a time when budget flagships are the norm, Xiaomi played their cards right with the Mi 11X series in India. The brand has seen a tremendous demand for these smartphones especially the Mi 11X Pro.
In a previous post, we covered the steps to unlock the bootloader on the Xiaomi Mi 11X Pro. In this new post, we will now go through the process to install TWRP recovery and root the phone using the Magisk module. With the brand releasing the kernel source, the flood gates for custom ROMs have opened and it is a matter of time when we will be seeing the new Android 12 GSI ported onto this phone as well.
But before we get into the guide, let us have a closer look at the Mi 11X Pro. As mentioned above this is a rebranded Redmi K40 Pro Max. It’s got a large 6.67-inch E4 spec AMOLED panel from Samsung with a peak brightness of more than 1100 nits and a rather small 2.4mm punch-hole that houses the selfie camera. The phone also gets support for a 120Hz refresh rate and is powered by the new Qualcomm Snapdragon 888 Soc. The phone is available in multiple storage options with up to 8GB RAM and 256GB storage.
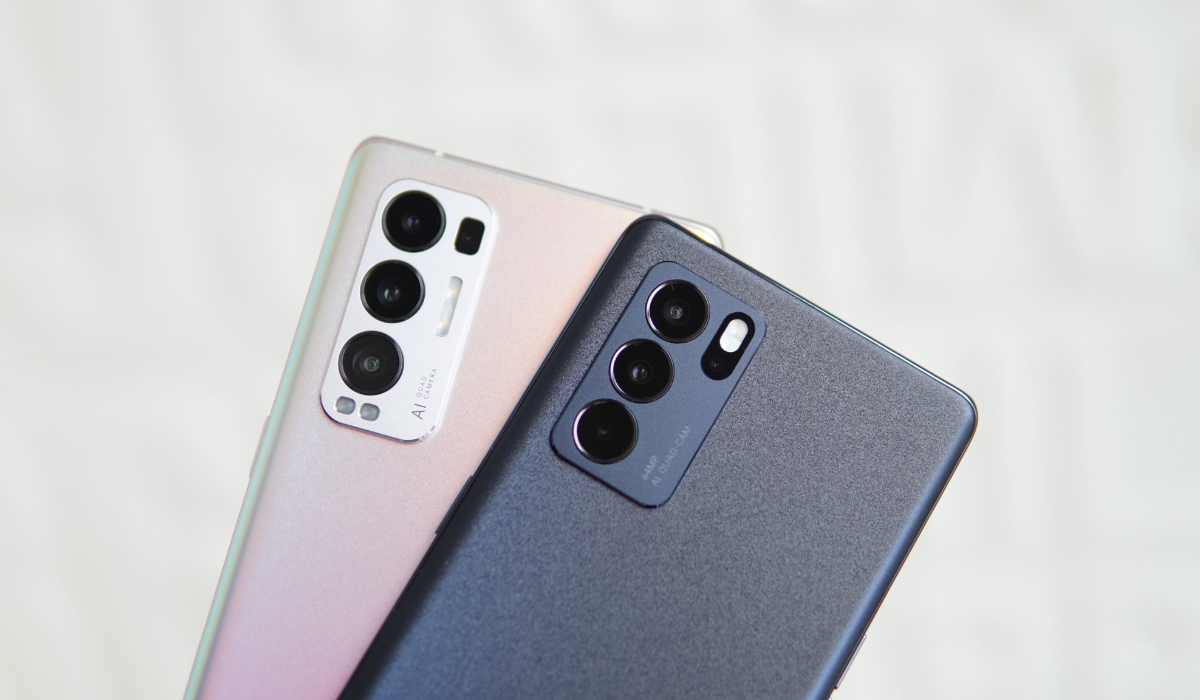
On the optics front, the phone has a triple-rear camera module with the flagship Samsung-made 108-megapixel shooter, assisted with an 8-megapixel ultra-wide lens, and a 5-megapixel macro sensor. On the front there is a 20-megapixel selfie shooter, that is housed in a punch-hole cutout. All this is juiced by a rather moderate 4,520mAh battery which comes with support for up to 33W fast charging.
READ | How to Download & Install MIUI 12.5 update on Xiaomi Mi 11X Pro
Let us now get into the guide with What TWRP is first, followed by TWRP installation and the Rooting procedure.
What is TWRP Recovery?
TWRP stands for TeamWin Recovery Project. It is an open-source and entirely GUI-based custom recovery for Android devices. The reason why it’s so popular is because of the fact that it allows Android users to enjoy fully touch-based UI and flash custom ROMs, MODs, Magisk, SuperSu, etc. There are further features like Full System backup that come in handy during these customization sessions.

EverythingXiaomi.com is not responsible for any kind of damage to data or devices while performing this task. Flashing a custom recovery voids the device’s warranty and might result in full data loss. You are proceeding at your own risk.
How To Install TWRP Recovery on Xiaomi Mi 11X Pro
Before we start with the installation process, it is advised that you stick to the guide and follow the instructions line-by-line.
Pre-Requisites:
- Make sure the phone’s battery is charged above 65%.
- Back up your data on any external media or perform a Nandroid backup.
- Download ADB and Fastboot Drivers on the PC/Laptop from here.
- Download the latest Xiaomi USB Drivers on the PC from here.
- Download and save twrp.img from here to the Extracted folder of ADB – Fastboot drivers.
- Unlocked Bootloader on the Xiaomi Mi 11X Pro
The thing to note here is, this recovery has been ported using a Chinese recovery already available for the Redmi K40 Pro+ which is a rebranded Mi 11X Pro for the Chinese market. So, some menu items in this TWRP build can be in Chinese.
How To Install TWRP Recovery on Xiaomi Mi 11X Pro
- You first need to have an unlocked bootloader on your Xiaomi Mi 11X Pro, so if that’s not done, follow our guide for the same.
- Connect your phone to the PC and look if the OEM Unlock is turned on from the developer settings.
- Extract ADB and Fastboot drivers in a folder and open the cmd or PowerShell by pressing the Shift key + Right-Clicking in the same folder.
- Now type the following command [adb reboot bootloader] to reboot the Xiaomi Mi 11X Pro into the fastboot mode (Note: You might get a USB debugging permission on your smartphone, so accept the pop-up).
- Now place the twrp.img to the same folder where you have extracted the ADB & Fastboot drivers.
- Type this [fastboot flash recovery twrp.img] command to flash the TWRP image you download.
- After the successful flashing, reboot the phone using the [fastboot reboot] command.
If you followed the guide correctly up to the last step, then you have successfully installed TWRP Recovery on Xiaomi Mi 11X Pro. Another thing to note here is that this is an unofficial TWRP build made by individual developers and the build has not been vetted by the TWRP team. Flashing this recovery is your sole decision, and it is advised to take a full backup just in case things go sideways. Let us now flash the Magisk module to get root access on the phone.
How To Root Xiaomi Mi 11X Pro
Before we start this, make sure you download the latest version of Magisk from here and place the file on to the internal storage of your phone.

- It’s always recommended that you take a full backup of the phone but if you’re doing this immediately after installing TWRP recovery, there is no need to make a separate backup.
- Now reboot your phone into TWRP recovery by pressing the volume up and power at the same while the phone is being turned on.
- Now, select “Install” from the TWRP and browse for the Magisk.zip file. Tap on it to select it.
- Now, “Swipe to confirm flash” action.
- Upon successful installation, select “Install” once again and locate the “no-verity-force-encrypt.zip” file. Tap it to select it.
- Again “Swipe to confirm flash” action.
- Reboot System from TWRP Recovery.
- With the first boot, you might see a Magisk app on your phone, this is how you will be able to check the root status and download and install Magisk Modules for your Xiaomi Mi 11X Pro.
- If everything checks out till now, you should have root access on your phone.
- Just to double-check, you could install the Root Checker app from the play store which should reflect the root status.
By now you have successfully flashed a custom recovery and root on your Xiaomi Mi 11X Pro and if everything is done correctly this process won’t take much more than a couple of minutes.


Add Comment